BR-MERU — Built to Rise, in Real-Time 3D
A supertall tower is dug, piled, cored, floored, glazed and topped out, then lit against a night skyline — all rendered live.
A construction firm's story, rendered live in WebGL. Behind "Built" and "to rise." a ghost wireframe of the finished tower stands over an empty site; the ground is dug out, piles drive in and a raft is poured, then the core climbs on jumping forms with a tower crane riding it while floor plates stack one by one, each turning a degree, and floor and day counters run. Glass panels hang from the bottom up as a counter runs to 3,400, the crane tops out under a giant "Topped out.", the sky turns from day through dusk to night, the windows light up and the camera pulls back to the tower anchoring a lit city. Then the page: a manifesto with self-drawing engineering drawings, four projects where tapping one builds it floor by floor, a live tower configurator with floors, form, facade, a day-night switch and feasibility numbers, a pinned four-day floor cycle drawn in section, a ticking safety record and client testimonials. There is no image, video or model file in the product. Next.js 16, React 19, React Three Fiber, GSAP ScrollTrigger and Lenis.
How to run this
Works the same on Windows, macOS and Linux. No prior setup beyond Node.js, and nothing to configure — the pack runs as-is.
- Built with
- Next.js 16
- Requires
- Node.js 20 or newer
- Opens at
- http://localhost:3000
✦ Or let an AI agent set it up for you
Already using Claude Code, Antigravity, Cursor or Windsurf? Unzip the pack, open the folder as a project, and just ask:
Install the dependencies and run this project, then give me the URL
It reads the README included in the pack, runs the right commands for this project, and sorts out anything that trips along the way. You still need Node.js installed (step 1 below) — everything after that it can handle.
Or run it yourself
- 1
Install Node.js, if you don't have it
Download the LTS build from nodejs.org and run the installer — on Windows and Mac it handles everything. Mac users with Homebrew can run
brew install nodeinstead.To check it worked, run
node --version. It should print a number like v22.11.0. - 2
Unzip the pack, then open a terminal inside the folder
Windows: open the unzipped folder in File Explorer, click the address bar, type
powershelland press Enter.Mac: press Cmd+Space, type terminal, press Enter. Then type
cd(with a trailing space) and drag the unzipped folder onto the terminal window — it fills in the path for you. Press Enter. - 3
Install the dependencies
Run
npm installOne-time, and takes roughly 30–60 seconds. It creates a node_modules folder — that's expected, and it's why the zip doesn't ship one.
- 4
Start it
Run
npm run devThen open http://localhost:3000 in your browser. Leave the terminal open while you use it — closing it stops the site. Press Ctrl+C in the terminal to stop.
- 5
Optional — build for production
When you're ready to deploy,
npm run buildproduces the optimised output. The pack deploys to Vercel, Netlify or any Node host with no changes.
+ − If something goes wrong
- “npm is not recognised” / “command not found: npm”
- Node.js isn’t installed, or the terminal was open before you installed it. Close the terminal, open a new one, and try again.
- “Port 3000 is already in use”
- Something else is running there — often a previous copy of this site. Close the other terminal, or stop it with Ctrl+C.
- The page loads but images or video are missing
- Make sure you ran the command from inside the unzipped BR-MERU — Built to Rise, in Real-Time 3D folder itself, not the folder containing it.
- npm install shows warnings
- Warnings (as opposed to errors) are normal and safe to ignore. Only a message starting with ERR! needs attention.
Still stuck? Email us and we'll get it running with you.
More like this
Browse the store → Premium
BR-NARIO — Coconut to Carton, in Real-Time 3D
A coconut cracks open, a can grows out of it, and it ships sealed in a carton — all rendered live.
 Premium
BR-KOKOA — Pod to Sleeve, in Real-Time 3D
A cacao pod cracks open, its beans roast into a bar that snaps, then it's wrapped in gold foil and sleeved — all rendered live.
 Premium
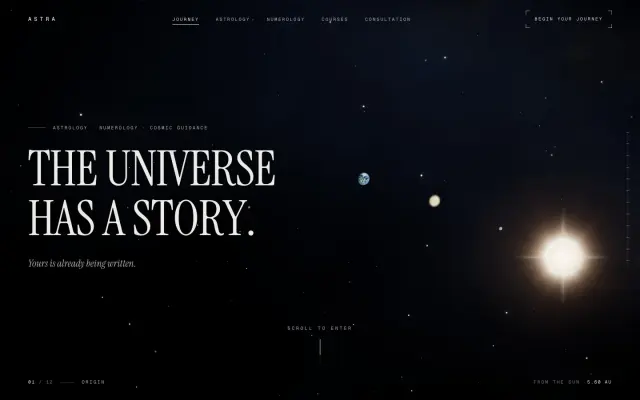
BR-SOLAR — A Journey Through the Cosmos, in Real-Time 3D
One scroll flies from the Sun past every planet, through the zodiac, a nebula and a black hole — and back out to a single point of light.