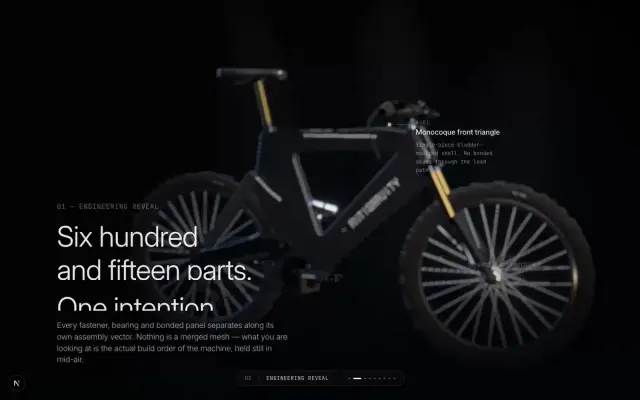
Ruturaj Jena — Creative Technologist Portfolio
One WebGL stage, three films scrubbed by scroll
A personal site built as one continuous film rather than a page of sections. A single fixed <Canvas> sits behind the whole document and every section contributes a scene to it, so the entire portfolio runs on one renderer and one frame loop. The three supplied films never appear as video elements: they are decoded into textures and composited by shaders — the portrait is chroma-keyed on the CbCr plane with edge despill, a bottom feather and a scroll-driven noise dissolve, while the data and design plates multiply or feather into the page depending on whether they are light or dark. Scroll progress is written into a plain mutable store and read inside the frame loop, so scrolling the page causes zero React re-renders. The AWS pipeline is deliberately SVG rather than WebGL: packets ride real path geometry through GSAP MotionPath, so the flow follows the curves exactly and stays crisp at any zoom. Ten sections carry it from identity through data engineering, selected builds and web design to the contact frame. Warm white, graphite and one restrained blue — the opposite of a neon developer template.
How to run this
Works the same on Windows, macOS and Linux. No prior setup beyond Node.js, and nothing to configure — the pack runs as-is.
- Built with
- Next.js 16
- Requires
- Node.js 20 or newer
- Opens at
- http://localhost:3000
✦ Or let an AI agent set it up for you
Already using Claude Code, Antigravity, Cursor or Windsurf? Unzip the pack, open the folder as a project, and just ask:
Install the dependencies and run this project, then give me the URL
It reads the README included in the pack, runs the right commands for this project, and sorts out anything that trips along the way. You still need Node.js installed (step 1 below) — everything after that it can handle.
Or run it yourself
- 1
Install Node.js, if you don't have it
Download the LTS build from nodejs.org and run the installer — on Windows and Mac it handles everything. Mac users with Homebrew can run
brew install nodeinstead.To check it worked, run
node --version. It should print a number like v22.11.0. - 2
Unzip the pack, then open a terminal inside the folder
Windows: open the unzipped folder in File Explorer, click the address bar, type
powershelland press Enter.Mac: press Cmd+Space, type terminal, press Enter. Then type
cd(with a trailing space) and drag the unzipped folder onto the terminal window — it fills in the path for you. Press Enter. - 3
Install the dependencies
Run
npm installOne-time, and takes roughly 30–60 seconds. It creates a node_modules folder — that's expected, and it's why the zip doesn't ship one.
- 4
Start it
Run
npm run devThen open http://localhost:3000 in your browser. Leave the terminal open while you use it — closing it stops the site. Press Ctrl+C in the terminal to stop.
- 5
Optional — build for production
When you're ready to deploy,
npm run buildproduces the optimised output. The pack deploys to Vercel, Netlify or any Node host with no changes.
+ − If something goes wrong
- “npm is not recognised” / “command not found: npm”
- Node.js isn’t installed, or the terminal was open before you installed it. Close the terminal, open a new one, and try again.
- “Port 3000 is already in use”
- Something else is running there — often a previous copy of this site. Close the other terminal, or stop it with Ctrl+C.
- The page loads but images or video are missing
- Make sure you ran the command from inside the unzipped Ruturaj Jena — Creative Technologist Portfolio folder itself, not the folder containing it.
- npm install shows warnings
- Warnings (as opposed to errors) are normal and safe to ignore. Only a message starting with ERR! needs attention.
Still stuck? Email us and we'll get it running with you.
More like this
Browse the store → Premium
BR-Skins — The Anatomy of Glow
Nine pinned chapters, five clips, one scroll
 Premium
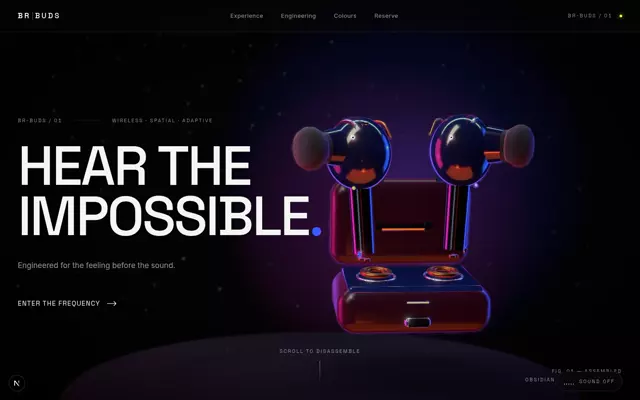
BR-Buds — Hear the Impossible
Scroll takes the earbuds apart, magnets put them back
 Premium
Ruturaj Jena — Editorial AI Engineer Portfolio
A personal site built like a printed magazine, not a résumé